English
  عربى
عربى  中文简体
中文简体 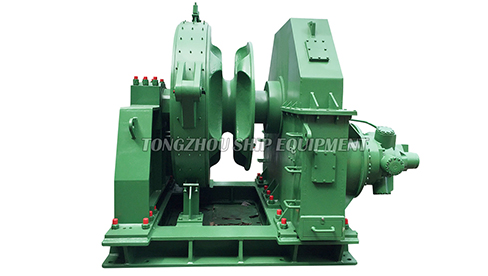


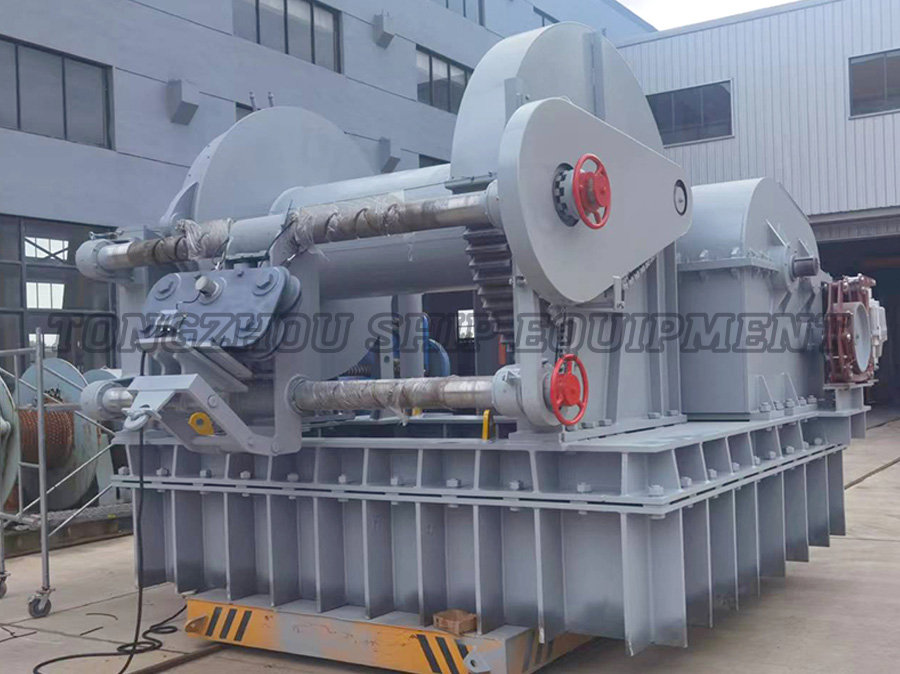
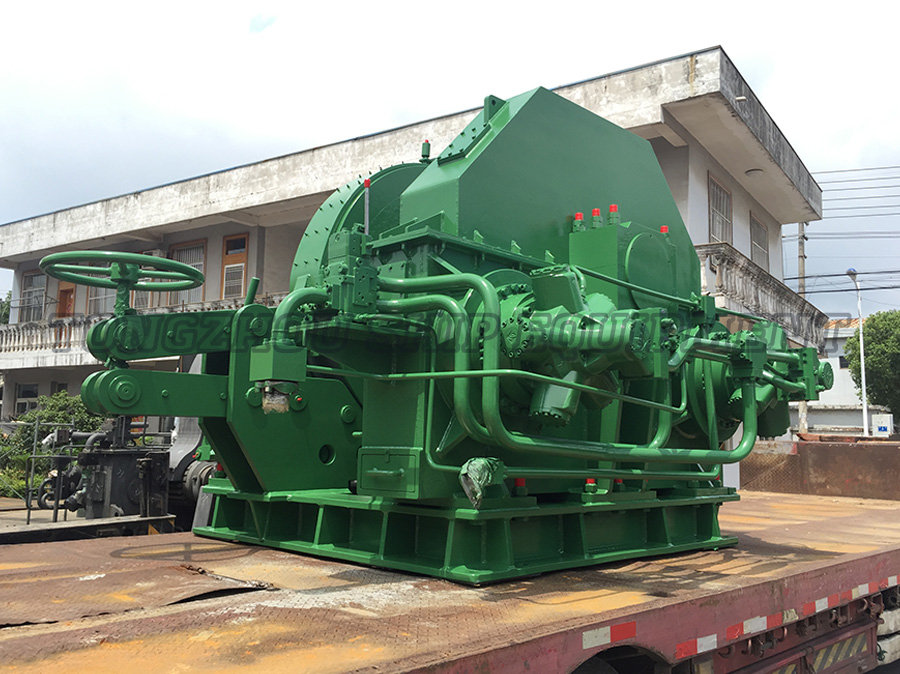
A windlass electric anchor winch is a motorized deck device that uses electrical power to deploy and retrieve an anchor rode — chain, rope, or a combination of both — at the push of a button. It replaces the manual effort of hauling heavy anchor chain by hand and is one of the most practical upgrades any cruising or offshore boater can make. Whether you run a 25-foot center console or a 50-foot bluewater sailboat, selecting the right electric anchor windlass requires understanding load ratings, gypsy compatibility, installation requirements, and long-term reliability factors.
Content
- How Does a Windlass Electric Anchor Winch Work?
- Vertical vs. Horizontal Windlass: Which Configuration Is Right for Your Boat?
- Side-by-Side Comparison: Vertical vs. Horizontal Electric Windlass
- How to Size an Electric Anchor Winch Correctly
- Key Features to Look for in a Windlass Electric Anchor Winch
- Installation Considerations for an Electric Anchor Windlass
- How to Maintain Your Electric Anchor Windlass
- Frequently Asked Questions About Electric Anchor Windlasses
- The Bottom Line: Choosing the Right Windlass Electric Anchor Winch
How Does a Windlass Electric Anchor Winch Work?
An electric anchor windlass uses a DC motor — typically 12V or 24V — to drive a gypsy (chainwheel) and/or a capstan drum, which grips and moves the anchor rode in a controlled, mechanical fashion. When you press the "down" button, the gypsy releases the rode under tension and gravity; when you press "up," the motor engages and hauls the chain or rope back aboard.
The core mechanical components are:
- Gypsy (chainwheel): A profiled wheel with pockets precisely machined to grip specific chain link sizes (e.g., 5/16", 3/8", 1/2"). Chain pitch must match the gypsy exactly — even a slight mismatch causes slipping, jamming, and accelerated wear.
- Capstan drum: A smooth or grooved cylindrical surface used with rope rode. Some windlasses feature a combination gypsy-and-drum unit for all-chain, all-rope, or chain-to-rope setups.
- DC motor and gearbox: The motor converts electrical energy into torque; the gearbox multiplies that torque to produce the pulling force (measured in pounds or kilograms) needed to retrieve anchor and chain.
- Solenoid or contactor: An electromagnetic switch that routes high-current power from the battery to the motor when you activate the control switch or foot switch.
- Brake mechanism: A manual or automatic brake holds the rode when the motor is not running, preventing free-fall runout.
Most windlass electric anchor winch systems also include a clutch that decouples the gypsy from the drive train, allowing the anchor to freefall quickly during deployment — a significant time-saver in deep anchorages.
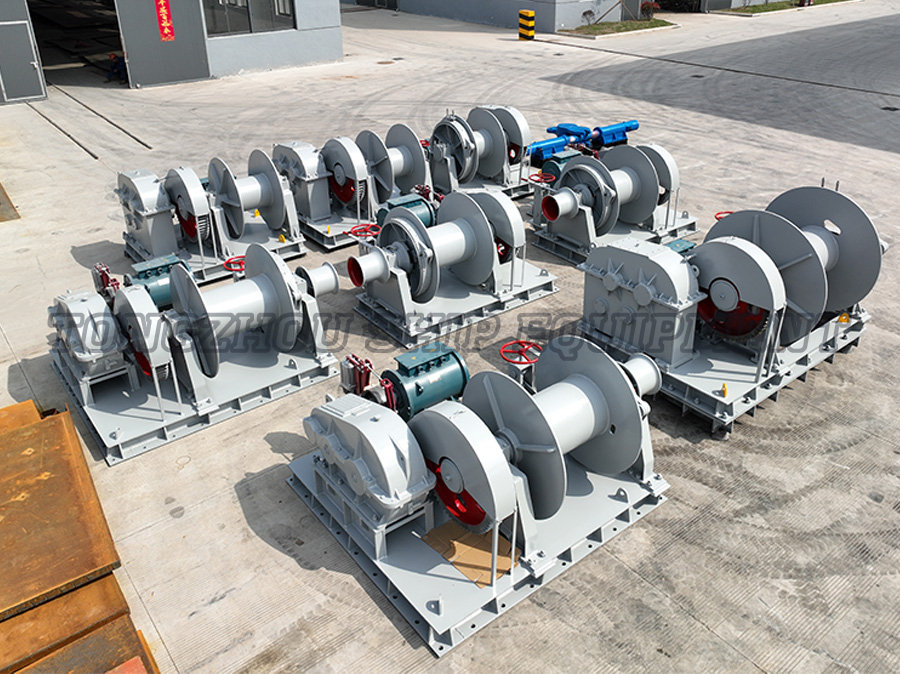
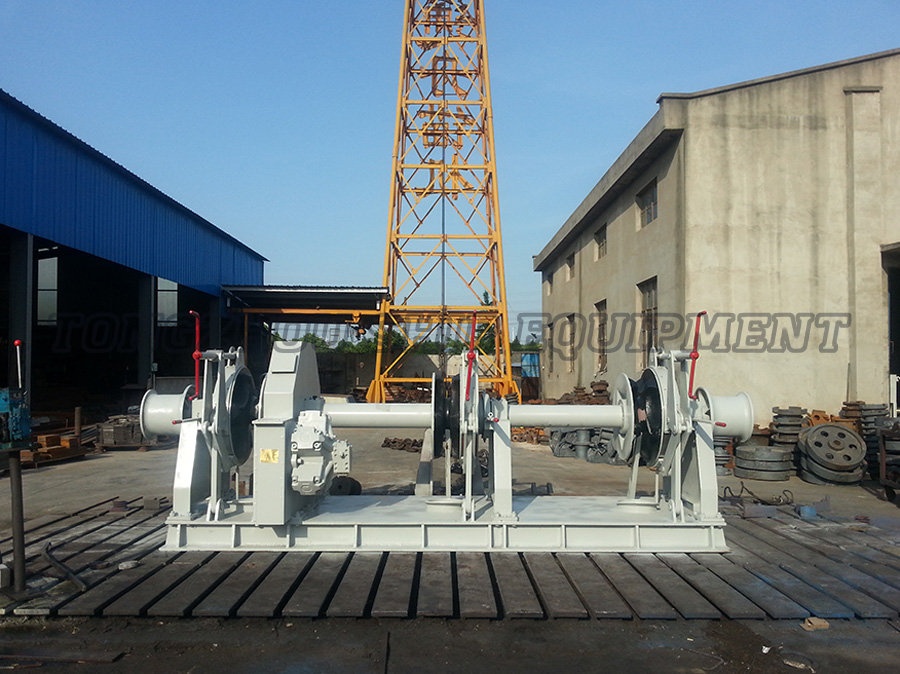
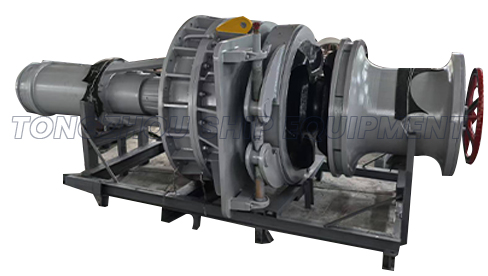
Vertical vs. Horizontal Windlass: Which Configuration Is Right for Your Boat?
The most fundamental choice in selecting an electric anchor windlass is the orientation: vertical (capstan-style) or horizontal (low-profile) — and the right answer depends primarily on your deck layout and anchor locker geometry.
Vertical Windlass (Capstan-Style)
A vertical windlass mounts with its motor below the deck and its gypsy/capstan drum protruding above — making it ideal for boats with deep anchor lockers directly beneath the bow.
- The motor and gearbox are hidden below deck, reducing topside clutter and exposure to weather.
- The vertical orientation allows chain to drop straight into the locker beneath, reducing stacking problems.
- Most units require at least 10–12 inches of clearance below the deck for the motor housing.
- Wiring runs are shorter and simpler since the solenoid is usually co-located below deck.
Horizontal Windlass (Low-Profile)
A horizontal windlass sits entirely on top of the deck with its motor axis running fore-and-aft, and is best suited for boats with shallow anchor lockers or minimal below-deck space at the bow.
- No below-deck motor clearance required — the entire unit sits topside.
- The low profile reduces windage and keeps the center of gravity low on the foredeck.
- Chain must lead out from either side of the unit, requiring fair leads and potentially a longer rode path to the locker.
- The motor and solenoid are more exposed to spray, salt, and UV — requiring higher-rated ingress protection (IP) ratings.
Side-by-Side Comparison: Vertical vs. Horizontal Electric Windlass
| Feature | Vertical Windlass | Horizontal Windlass |
| Motor location | Below deck | Above deck |
| Below-deck clearance needed | 10–14 inches | Minimal (2–3 inches) |
| Chain stacking | Excellent (drops straight down) | Requires fair leads |
| Weather exposure | Motor protected below deck | Full topside exposure |
| Best suited for | Sailboats, deep-locker powerboats | Shallow-bow powerboats, RIBs |
| Wiring complexity | Low (solenoid below deck) | Moderate (longer cable runs) |
| Typical IP rating | IP55–IP66 (motor housing) | IP67–IP68 required |
Table 1: Feature comparison between vertical and horizontal electric anchor windlass configurations to help determine the best fit for your vessel.
How to Size an Electric Anchor Winch Correctly
The single most common sizing mistake is choosing a windlass rated only for the anchor's weight — the correct approach is to calculate total system load, which includes anchor weight, chain weight, rode scope, and a safety factor of at least 3:1.
Step 1: Calculate Total Rode Weight
Start by calculating the total weight of the anchor plus the full length of chain rode you plan to carry. For example, a 35 lb anchor with 200 feet of 5/16" high-test chain (which weighs approximately 1.0 lb/ft) produces a total static load of 235 lbs. At a 7:1 scope in 30 feet of water, you'd have 210 feet deployed — that's 210 lbs of chain plus the anchor, or 245 lbs of total load at the gypsy.
Step 2: Apply the 3:1 Safety Factor
Multiply your maximum anticipated rode load by at least 3 to determine the minimum windlass working load rating. Using the example above: 245 lbs × 3 = 735 lbs minimum rated pull. In this case, a windlass rated at 800 lbs (approximately 360 kg) would be an appropriate choice, while a 500 lb unit would be dangerously undersized.
Step 3: Match Chain Size to Gypsy
Your windlass gypsy must be precisely matched to the chain size and type (proof coil, BBB, or high-test) you intend to use — this is not adjustable after purchase. Most manufacturers offer interchangeable gypsies, but you must specify the chain size at the time of ordering. Running 3/8" G4 high-test chain through a gypsy designed for 3/8" G3 proof coil will cause jams and chain jumping, even though the nominal sizes are the same.
| Boat Length | Anchor Weight (lbs) | Chain Size | Min. Windlass Pull | Recommended Voltage |
| 20–28 ft | 14–22 lbs | 1/4" or 5/16" | 400–600 lbs | 12V |
| 28–35 ft | 22–35 lbs | 5/16" or 3/8" | 700–900 lbs | 12V |
| 35–45 ft | 35–55 lbs | 3/8" or 1/2" | 1,000–1,500 lbs | 12V or 24V |
| 45–60 ft | 55–88 lbs | 1/2" or 5/8" | 1,800–2,500 lbs | 24V preferred |
| 60 ft+ | 88 lbs+ | 5/8" or larger | 3,000+ lbs | 24V or 48V |
Table 2: General sizing guide for electric anchor windlass selection by boat length. These are baseline recommendations — always calculate actual rode weight for your specific configuration.
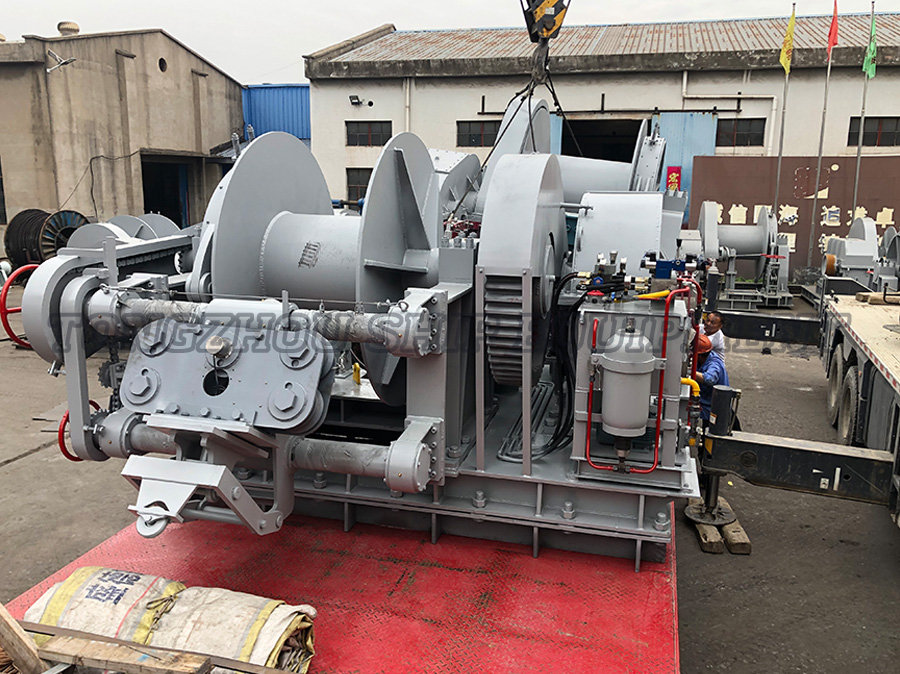
Key Features to Look for in a Windlass Electric Anchor Winch
Beyond pull rating and orientation, the features that most affect day-to-day satisfaction with an electric anchor windlass include duty cycle, control options, corrosion resistance, and retrieval speed.
Duty Cycle
Duty cycle describes how long the windlass motor can run continuously before requiring a cooling period — and it is one of the most underappreciated specifications. A windlass rated at 10% duty cycle can run for 1 minute out of every 10 before the thermal protection kicks in. For a typical anchoring sequence (deploying and retrieving in moderate conditions), this is usually sufficient. However, if you anchor frequently in deep water — say, 60–80 feet — you may need a windlass with a 20%–30% duty cycle or better, since retrieval can take several minutes at those depths.
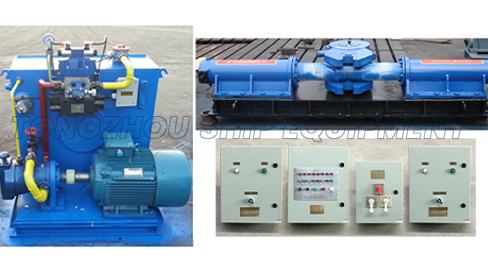
Control Options
Most modern electric anchor windlasses support multiple control input methods, and having at least two independent control points is strongly recommended for safety.
- Deck-mounted foot switches: Hands-free operation at the bow — the most common and practical option for solo anchoring. Typically waterproof rocker switches flush-mounted in the deck.
- Helm control panel: Allows the skipper to operate the windlass from the helm, useful on powerboats where the captain is alone and must manage throttle simultaneously.
- Wireless remote: A handheld radio-frequency or Bluetooth remote that allows the crew member at the bow to control the windlass without bending down to reach a foot switch — particularly useful on sailboats with deep bow pulpits.
- Chartplotter integration: Higher-end windlass systems can interface with NMEA 2000 chartplotters for depth-based automatic scope calculation and chain counter integration.
Chain Counter
A chain counter — either mechanical or electronic — measures how much rode has been deployed, eliminating guesswork and ensuring you always set adequate scope. Electronic counters typically use a sensor on the gypsy shaft and display footage on a deck-mounted or helm-mounted readout. Many cruisers consider this non-negotiable, especially for anchoring at night or in unfamiliar depths.
Retrieval Speed
Retrieval speed — typically expressed in feet per minute (fpm) — determines how quickly you can recover your anchor and move on. Most mid-range electric anchor windlasses retrieve chain at 40–80 fpm under no-load conditions; under the weight of full rode and anchor, real-world speeds are typically 25–50 fpm. A unit rated at 60 fpm will retrieve 150 feet of rode in approximately 3–4 minutes — acceptable for most cruising situations. Heavy-duty commercial-grade units can exceed 100 fpm.
Corrosion Resistance and Materials
Any windlass electric anchor winch installed in a marine environment must be constructed from corrosion-resistant materials — saltwater exposure is relentless and unforgiving. Look for:
- 316-grade stainless steel for all topside hardware, fasteners, and exposed components.
- Marine-grade aluminum alloy (often anodized or powder-coated) for the housing body.
- Sealed, grease-packed bearings rated for saltwater immersion.
- IP67 or IP68 rated solenoids if mounted above deck (withstands temporary immersion).
- Tinned copper wiring throughout the electrical system to prevent oxidation at connections.
Installation Considerations for an Electric Anchor Windlass
Proper installation is just as critical as product selection — a poorly wired or improperly mounted windlass is dangerous, and the most common installation errors involve undersized wiring and insufficient deck reinforcement.
Wire Sizing
The wiring between the battery and the windlass solenoid must be heavy gauge to handle the high current draw — undersized wire causes voltage drop, overheating, and motor damage. A 1,000 lb windlass drawing 100 amps at 12V requires very short wire runs or very heavy gauge cable. Use this as a guideline:
- Up to 10 feet of cable run: 2 AWG minimum for a 1,000 lb (80–100A) windlass
- 10–15 feet: 1/0 AWG
- 15–25 feet: 2/0 AWG
- 25+ feet or 1,500+ lb units: 3/0 or 4/0 AWG
Always run a dedicated circuit from the house battery bank with an appropriately rated circuit breaker — typically 100–200A — as close to the battery as possible.
Deck Reinforcement
The mounting base for an electric anchor windlass must be reinforced, because the loads transferred to the deck during anchoring can exceed 3,000–5,000 lbs on larger vessels. For fiberglass boats, this typically means backing plates of 1/4" aluminum or 3/8" G10 fiberglass laminated to the underside of the deck, spreading the load over a wider surface area. Never mount a windlass on bare, unreinforced fiberglass — delamination and deck failure will eventually result.
How to Maintain Your Electric Anchor Windlass
A well-maintained electric anchor windlass should provide 10–20 years of reliable service — but neglect in a saltwater environment can cause failures within 2–3 seasons. Follow these maintenance intervals:
- After each use: Rinse the entire windlass with fresh water, paying attention to the gypsy, chain stripper, and any exposed bearings.
- Monthly: Inspect the chain for stretch, wear, and corrosion. A chain gauge tool can measure link elongation — replace chain that has stretched more than 2% of its original length.
- Annually: Grease all grease fittings (Zerk fittings) with waterproof marine grease. Inspect all electrical connections for oxidation, tighten terminal lugs, and apply corrosion inhibitor spray.
- Every 2–3 years: Disassemble the windlass, inspect the motor brushes (on brushed DC motors), replace worn brushes, inspect gearbox oil, and replace seals if needed.
Frequently Asked Questions About Electric Anchor Windlasses
The Bottom Line: Choosing the Right Windlass Electric Anchor Winch
The right windlass electric anchor winch transforms anchoring from a physically demanding chore into a safe, effortless, one-touch operation — but only if the unit is correctly sized, properly installed, and matched to your chain.
Start with the math: calculate your maximum anticipated rode load, apply a 3:1 safety factor, confirm gypsy-to-chain compatibility, then choose between vertical and horizontal configurations based on your deck layout. From there, prioritize duty cycle, control options, retrieval speed, and corrosion resistance as your budget allows.
Do not underestimate the installation — proper wiring, circuit protection, and deck reinforcement are not optional extras. They are the foundation on which the entire system's reliability rests. A premium electric anchor winch wired with undersized cable will underperform and fail prematurely; a mid-range unit installed correctly will serve you faithfully for decades.
Finally, commit to a simple maintenance routine: rinse with fresh water, grease annually, and inspect your chain regularly. Anchoring is one of the most critical safety systems on any vessel — and your windlass electric anchor winch deserves the same care and attention as your engine.
Pro Tip: Before finalizing your windlass selection, download and read the full installation manual for any unit you're considering. Pay particular attention to the minimum battery wire gauge table and the recommended backing plate dimensions — these are non-negotiable engineering specifications, not suggestions.